
I have been working up a storm since Gerry has been away. Not having to go to work certainly has it's merits ;) I have made my first inroads into my Heartmade List! I am going to make 7 pretty pillowcases with crocheted trims for my older daughter. It's a nice gift for a teenage girl as I like the idea of her having a new, clean pillowcase for every night of the week. I learned of this from a friend, when I was still studying, who was prone to breakouts and said that changing her pillow case every day (obviously in addition to other interventions ;) ), made a big difference to her skin. Whether or not this is a case of the placebo effect rearing it's pretty head, I am going to make them for my girl (who thankfully has lovely skin, but, you know...still the thought that counts...) anyway...

This has got to be the easiest and quickest pillowcase imaginable. It is made from one piece of fabric and only has 4 straight sewn seams and two overlocked edges. Took all of 15 minutes for me to make...
In SA, the standard size pillowcase is 70cm X 45cm. You may need to adjust your measurements according to the size of your pillows...
Cut a piece of fabric (100% cotton), 176cm x 47cm.
Now iron a 1cm fold on both short edges. Make sure you iron the fabric with the wrong side of the fabric facing you. This will ensure that the fold you iron, as shown above, has the right side facing you.

Now fold the same 1cm fold over again, by 1cm, and iron flat again. Do this on both short sides.

Sew a straight seam along the edge of this folded hem.

Sew both folded seams. Iron again.

Place your piece of fabric on your table, with the right side facing you. Bring the left edge over, so that the overlapping fabric area is 70cm wide, as shown above. Make sure that your edges are straight and aligned.

Bring the right hem edge over, all the way across, so that the hem underneath is at the extreme right end of the work.

Pin along the edges, as well as in the middle of your pillowcase (to prevent the fabric layers from shifting while you sew the seams :) )

Sew a 1cm seam along both long edges, reinforcing the small area where the previously sewn hems overlap.

Overlock the same seam edges (or of you don't have an overlocker, just sew a small zigzag along the raw edges). Turn your pillowcase inside out, making sure that the corner points are pointy :)
Iron well.

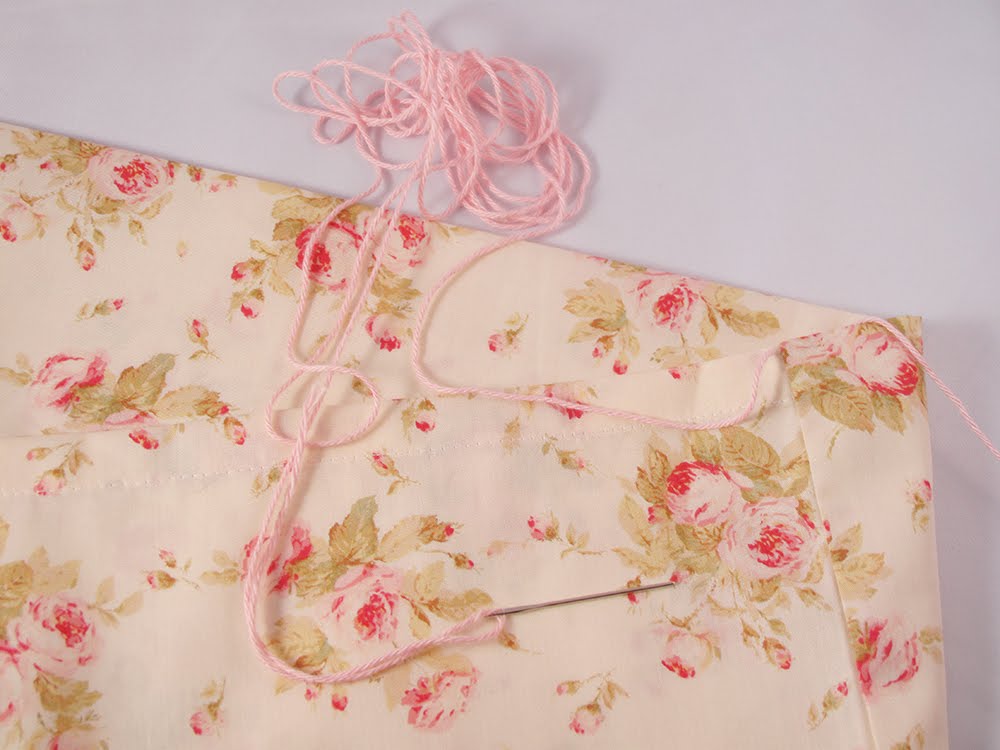
Now you will add a simple scalloped crocheted edge. In the photo above, you can see the pillowcase opening. The edge that you are going to crochet onto is the bit with the stitching running along it. The other end is a folded edge that surrounds your pillow.

Thread a tapestry needle with the yarn that you are going to use for the crocheted edge. Start at the right hand side of the seamed open edge of the pillowcase. Insert the needle at the very start of the edge, and pull about 2m of thread through. DO NOT CUT the yarn going to the ball of yarn. Just leave it be for now...

Above, you can see the loads of yarn pulled through and piled up.

Insert your needle just to the right of where it previously exited, and work along the inside of the hem, exiting about 1cm to the left. Pull all the yarn though.

Insert the needle in the same place as you previously did, and this time exit 2cm along, as seen above. You are effectively back stitching all along the pillowcase edge.

Pull all extra yarn through. Make sure that you don't pull too hard as the fabric will bunch. The stitch should lie flat along the fabric edge.

Re-insert the needle at the edge of the last back stitch, and work along the hem and exit 2cm to the left again. Pull all the extra yarn through.

You have made two back stitches.

Repeat this all along the edge of your pillowcase.

Make a small double stitch to anchor the yarn, and cut.

Go back to the beginning, where you have a working yarn still attached to the ball.
I have used a 2.0mm crochet hook for this edge, but obviously you can adapt to whatever edging you want to crochet.

Make 4 sc into each 1cm thread space...do this all along the edge. Above you can see that I have reached the end of the edge.

Turn your work, chain 1, and make sc into each of the previous rows' stitches...again there will be 4sc in each thread "space".

Above you can see that I have finished the second row of sc, and have turned my work around, ready to start the scalloped edging.

Make 1 dc into the space between sc 2 and sc 3 of the previous row...this lies in the middle of each 4sc repeat.

Make a second dc into the same space.

Now make 1 treble crochet stitch into the same space.

Crochet two more dc into the same space...one scallop complete.

Next make one sc into the space between 4sc repeats of the FIRST ROW.

Make 2dc, trc, 2dc in the next along 4sc repeat (always crocheting into the space between sc 2 and sc 3). Make a sc into the first row, as described before. Continue in this manner all along the edge.

WIP....

At the last scallop, cut yarn, pull through last stitch and tie off. Iron flat.

Ta Da! Your pillowcase is done! Easy peasy...
The pleasure in making this pillowcase is choosing beautiful fabrics...this particular fabric is a Yuwa pure cotton and soft and smooth ...cotton is by far the best fabric for a pillow case...
Enjoy your Sunday folks...
♥Heidi

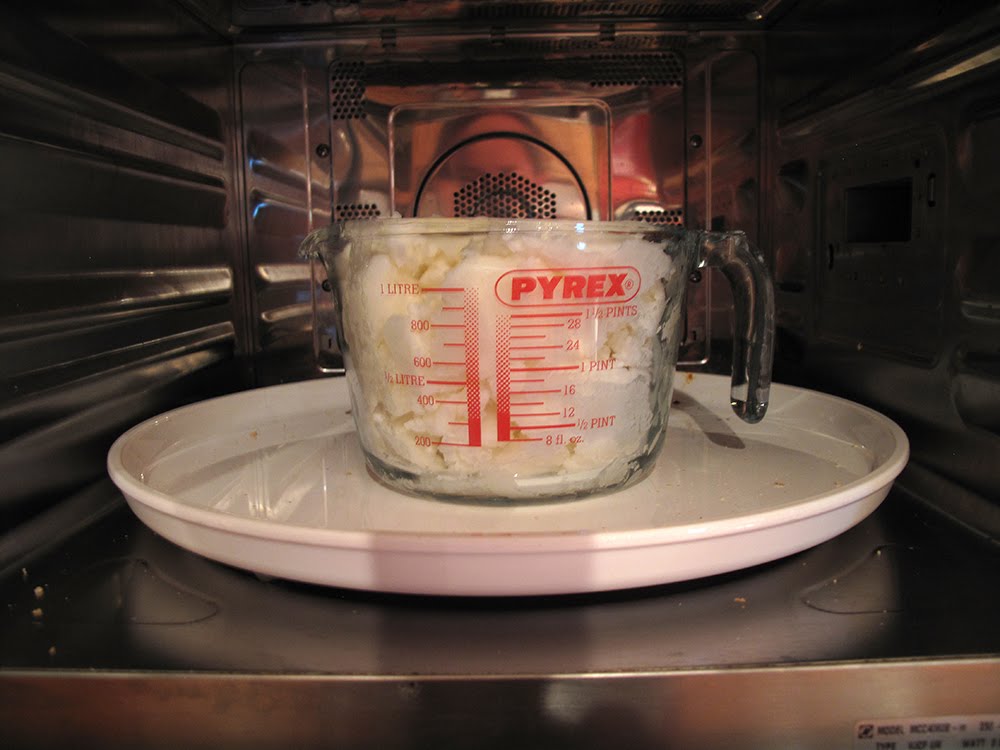
 Some feedback on the Home Made Laundry Detergent. IT ROCKS!!!!! Well, I was a bit hesitant, thinking (stupidly!) that if it cost so little to make, it couldn't do the same job as the regular stuff. It works like a charm! I have given some to my sister and mom, and so far my sister has given it a thumbs up... Mom, I still have to chat to about how she found it works :)


